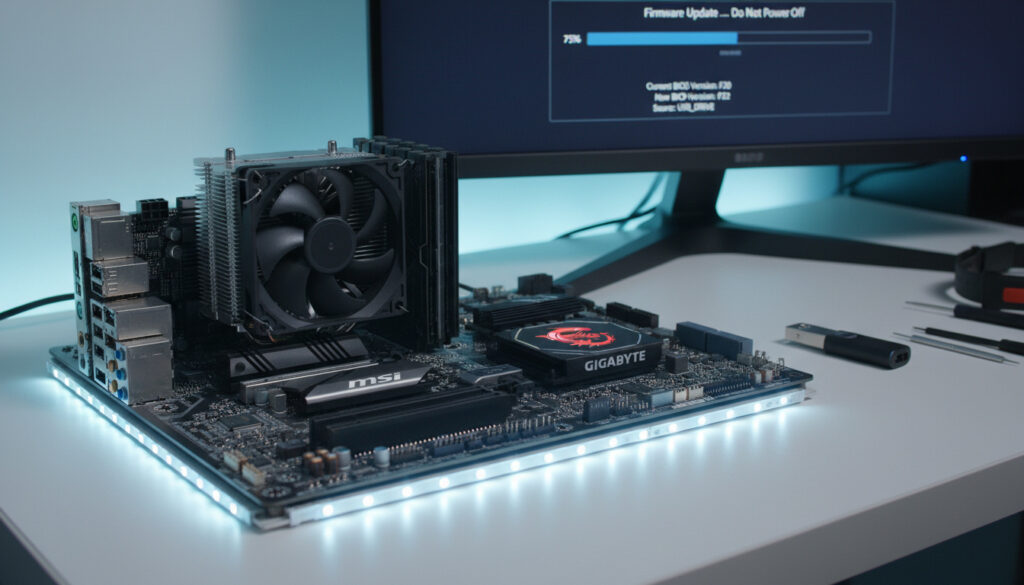
How to Update BIOS – Safe Steps for ASUS MSI Gigabyte
The Basic Input/Output System serves as the foundational firmware connecting your hardware and operating system. Keeping this critical software current ensures compatibility with emerging processors, resolves stability issues, and unlocks security patches that protect against modern threats.
Manufacturers like ASUS, MSI, and Gigabyte regularly release updates to support new CPUs or address specific hardware conflicts. While the process carries inherent risks, proper preparation transforms a potentially dangerous operation into a routine maintenance task that takes less than thirty minutes.
Understanding the exact sequence—from verifying your current version through post-update verification—prevents the common pitfalls that lead to motherboard failures. This guide provides manufacturer-specific instructions grounded in official documentation and verified technical procedures.
How to Check Your Current BIOS Version
Check Version → Download File → Prepare USB → Flash BIOS
15-30 minutes
Medium-High
USB drive, stable PSU
Before initiating any firmware modifications, verification of your current system state provides the baseline necessary for selecting compatible update files. Windows users can access this information through the System Information utility, while Linux administrators rely on command-line tools to extract version data.
- Always backup critical data before flashing firmware, as power interruptions during the process can render storage inaccessible.
- Download BIOS files exclusively from official manufacturer support portals to avoid corrupted or malicious code.
- Maintain uninterrupted power supply throughout the update; desktop users should utilize UPS systems while laptop users must remain plugged into AC power.
- Verify motherboard model numbers against physical labels and system information to prevent flashing incompatible firmware.
- Read release notes thoroughly to confirm whether the update addresses your specific hardware configuration or operating system requirements.
- Disable sleep modes and antivirus software when using Windows-based update utilities to prevent process interruption.
- Format USB drives to FAT32 with 8GB capacity or smaller to ensure maximum compatibility with legacy BIOS interfaces.
| Fact | Details |
|---|---|
| Firmware Definition | Basic Input/Output System governs hardware initialization before operating system loading |
| Primary Update Motivation | Bug fixes, CPU microcode support, and stability improvements |
| Common Manufacturers | ASUS, MSI, and Gigabyte dominate consumer motherboard markets |
| Standard Interface Tools | EZ Flash, M-Flash, and Q-Flash provide manufacturer-specific environments |
| Storage Requirements | FAT32 formatted USB drives; NTFS or exFAT often unrecognized |
| Power Susceptibility | Complete power loss during flashing bricks the motherboard permanently |
| Alternative Methods | Windows utilities available for some models; Linux requires BIOS/USB method |
| File Formats | .CAP files for Gigabyte; various proprietary formats for ASUS and MSI |
| Recovery Mechanisms | Dual BIOS chips and Flashback buttons provide fallback options |
| Windows 11 Implications | Updates frequently enable TPM 2.0 and Secure Boot compatibility |
Steps to Download the Latest BIOS Update
Identifying Your Motherboard Model
Precise identification prevents catastrophic mismatches between firmware and hardware. Windows users can press Windows + R, type msinfo32, and locate the BIOS Version/Date alongside BaseBoard Product to determine exact model numbers. Physical inspection of the motherboard surface often reveals printed model identifiers when software access proves impossible.
Accessing Manufacturer Support Portals
Navigate directly to official support infrastructure: ASUS support pages, MSI technical documentation, or Gigabyte consumer guides. Enter your specific model designation—such as ASUS ROG Strix Z790-E—then select the BIOS tab to view available releases. Download the latest ZIP archive and verify cryptographic checksums when provided to ensure file integrity during transmission.
Release Notes and Compatibility
Documentation accompanying BIOS files details specific improvements, CPU compatibility additions, and Windows 11 prerequisites. Technical analyses emphasize that skipping unnecessary updates remains valid when current systems operate stably without targeted hardware support requirements.
Manufacturers occasionally provide MD5 or SHA-256 hashes alongside download links. Comparing these values against your downloaded file confirms the package arrived uncorrupted and unmodified by intermediary networks.
How to Update BIOS Using USB Method
Preparing the FAT32 USB Drive
Extract the downloaded archive contents to the root directory of your USB flash drive. Some Gigabyte implementations require renaming files to specific designations—such as GIGABYTE.bin—while ASUS and MSI typically recognize original filenames. Security protocols recommend using freshly formatted drives to prevent conflicts with existing data or hidden partition tables.
ASUS EZ Flash and Flashback Procedures
Restart the system and press Delete during POST to enter UEFI. Navigate to the Tool menu and select EZ Flash Utility. Browse to your USB drive, select the firmware file, and confirm the operation. The system typically requires two to five minutes to complete the flash sequence. Alternatively, BIOS Flashback allows updates without CPU or memory installed: insert the USB into the dedicated rear port, press the Flashback button for five to ten seconds, and wait for the LED indicator to stop blinking.
MSI M-Flash Implementation
Enter the BIOS interface by pressing Delete during boot. Select M-Flash from the main menu, acknowledge the warning prompt, and the system will reboot into the flashing environment. Navigate to your USB device, select the appropriate ROM file, and initiate the process. The utility displays a progress bar; interruption during this phase bricks the board.
Gigabyte Q-Flash Protocol
Access Q-Flash either from within the BIOS interface or via the dedicated button on select motherboards. Load the CAP file from your USB root directory and confirm the update. Intel hardware guidelines note that modern Gigabyte boards support Q-Flash Plus, enabling recovery without functional CPU or RAM through a specific USB port designation.
ASUS Armoury Crate and MSI Dragon Center provide operating-system-level flashing capabilities. Execute these programs with administrator privileges, close all background applications, and disable sleep modes before commencing. This method remains unavailable for Linux users, who must utilize the BIOS/USB approach.
BIOS Update Risks and Safety Precautions
Firmware modification involves rewriting the non-volatile memory that initializes hardware components. Hardware specialists document that power fluctuations during this process permanently corrupt the boot environment, rendering the motherboard unresponsive until physical chip replacement or recovery procedures succeed.
Never initiate BIOS updates during electrical storms or without battery backup systems. Desktop systems require uninterruptible power supplies (UPS) capable of sustaining full load for fifteen minutes minimum. Laptop computers must maintain AC adapter connection throughout the entire sequence; removal of the power cord mid-flash guarantees motherboard bricking.
Using incorrect firmware files—even those differing by minor revision numbers—can fry hardware components irreversibly. Double-check model numbers against both the motherboard silkscreen and the support website database before confirming any flash operation. Additionally, refrain from removing the USB drive or pressing reset buttons until the system displays confirmation messages and automatically reboots.
What Is the Complete BIOS Update Sequence?
- Hardware Identification: Confirm exact motherboard model via
msinfo32or physical inspection to ensure compatible file selection. Source: Comodo PC Security - Firmware Acquisition: Download the latest BIOS version from official manufacturer support portals matching your specific model and revision number. Source: Xcitium Technical Blog
- Storage Preparation: Format USB flash drive to FAT32 with 8GB or smaller capacity, extracting BIOS files to root directory. Source: Intel Gaming Resources
- Interface Access: Restart computer and press Delete, F2, F10, or F12 during POST to enter BIOS/UEFI configuration environment. Source: Technical Demonstration
- Flash Execution: Launch manufacturer-specific tool (EZ Flash, M-Flash, or Q-Flash), select USB file, and confirm initiation without interruption. Source: Hardware Tutorial
- System Verification: Reboot into operating system and verify new BIOS version via
msinfo32ordmidecode -s bios-versionon Linux systems. Source: System Administration Guide
What Are the Proven Benefits vs. Remaining Uncertainties?
Established Information
- BIOS updates definitively improve hardware compatibility for newly released CPUs and memory modules.
- Security vulnerabilities within firmware can be patched through official updates provided by manufacturers.
- Windows 11 compatibility requires specific TPM 2.0 and Secure Boot implementations enabled through firmware updates.
- Manufacturer-specific tools like EZ Flash, M-Flash, and Q-Flash provide reliable update mechanisms when used correctly.
- Dual BIOS systems and Flashback buttons offer verifiable recovery paths for most modern motherboards.
Information That Remains Unclear
- The exact failure rate for BIOS updates remains unquantified across different manufacturers and board tiers.
- Long-term stability impacts of beta BIOS versions compared to official releases lack comprehensive longitudinal studies.
- Specific electrical conditions that trigger update failures beyond total power loss are not fully documented.
- Compatibility of specific USB drive controllers with various BIOS flashing implementations remains inconsistently mapped.
Why Do Modern Systems Require BIOS Updates?
Contemporary computing environments demand firmware agility that previous generations never required. The transition to Windows 11 necessitated widespread BIOS updates to enable Trusted Platform Module (TPM) 2.0 and Secure Boot functionality—security features previously disabled or unavailable on older hardware. Simultaneously, processor manufacturers release new CPU microcodes regularly to address speculative execution vulnerabilities or enhance power management algorithms.
Memory compatibility presents another compelling motivation. DDR5 implementation on Intel and AMD platforms required iterative BIOS refinement to achieve stable XMP/EXPO profiles at high frequencies. Without these updates, systems encounter stability crashes or fail to recognize memory modules entirely. The rapid cadence of hardware releases means motherboard manufacturers continuously adjust memory training algorithms and voltage regulations through firmware iterations.
For users maintaining stability on established configurations, the urgency diminishes. However, those upgrading components or operating systems find firmware updates essential rather than optional. The intersection of new processors, security requirements, and memory technologies creates an environment where static firmware becomes obsolete within months rather than years. For additional technology transition timelines affecting hardware compatibility, consult the Vodafone UK 2G Shutdown – Timeline and Customer Guide.
What Do Manufacturer Guidelines Say?
“Always backup data before updating BIOS and ensure stable power supply. Use UPS for desktops and keep laptops plugged in during the entire process.”
“Follow manufacturer-specific tools for lowest risk; use USB flash drive formatted to FAT32 as the primary method rather than Windows utilities when possible.”
What Should You Do After Updating?
Following successful firmware installation, enter BIOS setup to verify the version number matches your intended release. Load optimized defaults to ensure new parameters initialize correctly, then reconfigure any custom memory profiles or fan curves previously established. Monitor system temperatures and POST behavior across several reboot cycles to confirm stability. Those seeking mobile device alternatives during hardware upgrades may reference the Tesco Mobile Phones Clearance – Best Deals and Buying Guide.
Frequently Asked Questions
Can I update BIOS without a USB drive?
Yes. Some manufacturers provide Windows-based utilities like ASUS Armoury Crate or MSI Dragon Center that flash firmware directly from the operating system. However, USB methods remain preferred for reliability.
What happens if I install the wrong BIOS file?
Installing incompatible firmware can render the motherboard unbootable or damage hardware components. Always verify model numbers against physical labels and support site databases before flashing.
How long does a BIOS update typically take?
The flashing process usually requires two to five minutes. However, preparation including backup and verification extends the total procedure to fifteen or thirty minutes.
Is it safe to update BIOS on a laptop?
Yes, provided the laptop remains connected to AC power throughout the entire process. Never attempt updates on battery power alone, as low charge levels can interrupt the flash.
Can I downgrade to a previous BIOS version?
Some motherboards allow downgrading through the same utilities used for updates, though manufacturers increasingly block rollback to prevent security vulnerabilities. Check specific model documentation.
Do I need BIOS updates for Windows 11 compatibility?
Often yes. Many systems require firmware updates to enable TPM 2.0 and Secure Boot functionality mandatory for Windows 11 installation.
What is the difference between BIOS and UEFI?
UEFI represents the modern replacement for legacy BIOS, offering larger drive support, faster boot times, and graphical interfaces. The term BIOS persists colloquially to describe both systems.
How can I recover from a failed BIOS update?
Modern motherboards feature Dual BIOS chips, Flashback buttons, or Q-Flash Plus ports that allow recovery without functional CPU or memory. Consult your specific model manual for recovery procedures.
More related posts
 Cafe Del Mar Malta – Location Hours Events Reviews Guide
 Cast of Hacksaw Ridge: Actors, Roles & Real Figures
 Foot and Mouth Disease: Symptoms, Treatment, Prevention
 Seattle Sounders vs PSG – Verified Facts and 2022 Mystery
 Tippi Hedren: From Hitchcock Star to Lion Sanctuary Founder
 Petro Matad Share Price (MATD.L): Live Quote, Charts & News
 Charlie Murphy Cause of Death: Comedian vs Actress
 Sunrisers Hyderabad vs Mumbai Indians: Complete Timeline